

Security model
The component never holds an API key. Instead it uses presigned upload signatures, minted byPOST /upload/sign, the same HMAC-SHA256 pattern Openinary already uses for signed delivery URLs.
1
Your backend requests a signature
A protected endpoint on your server calls
POST /upload/sign with your Openinary API key, scoping the request to a folder and an expiry window.2
The browser gets the signature
The component calls your
sign() function right before uploading. It returns { signature, expires, folder }, opaque values that expire in minutes.3
Openinary verifies the signature
POST /upload checks the signature against the submitted folder and expires before accepting the file. A tampered or expired signature is rejected.POST /upload/sign.
Prerequisites
- A running Openinary instance (see Quickstart).
API_SECRETset on the instance (at least 16 characters;openssl rand -hex 32gives you a strong 64-character one), used internally to compute the HMAC signature. Same secret used for signed delivery URLs.- An API key for your backend to call
POST /upload/signwith (see API Keys). CORS_ORIGINset to include the origin(s) of the app embedding the uploader. Multiple origins are comma-separated:MAX_FILE_SIZE_MBif you need to raise the default 50 MB limit.- A project already set up for shadcn/ui (
components.jsonpresent). See the shadcn install guide. Requires the shadcn CLI v3 or later for namespaced registries.
Installation
1
Register the Openinary namespace
Add the
@openinary registry to your project’s components.json:components.json
2
Add the component
components/openinary/, pulls in the shadcn button and progress dependencies, and adds NEXT_PUBLIC_OPENINARY_URL to your .env.local.3
Add the signing helper
lib/upload-token.ts, a thin client for POST /upload/sign, it makes one fetch call and doesn’t compute anything cryptographic itself; Openinary does that.4
Set your environment variables
.env.local
Create a signing endpoint
The component needs asign() function that returns a presigned signature. Back it with a small endpoint on your server using the helper you just installed.
- Next.js (App Router)
- Express
- Cloudflare Workers
app/api/upload-token/route.ts
expiresIn short. It only has to live long enough to start the upload, so 60 to 300 seconds is plenty, and the server clamps it to 3600 anyway.
Usage
- Next.js
- Vite / React
- Restricted type/size + transformations
Props
Styling & theming
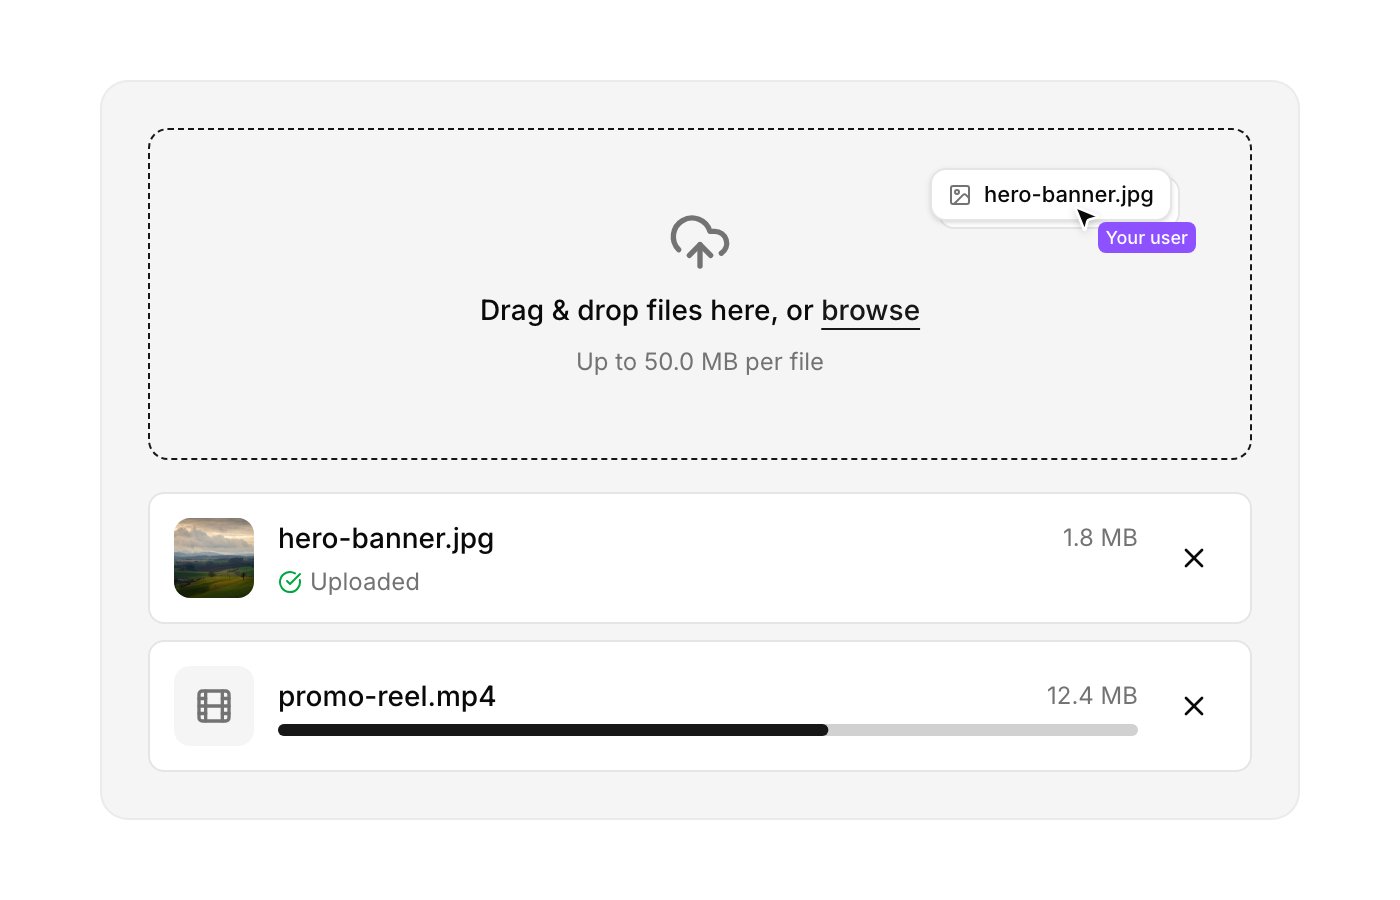
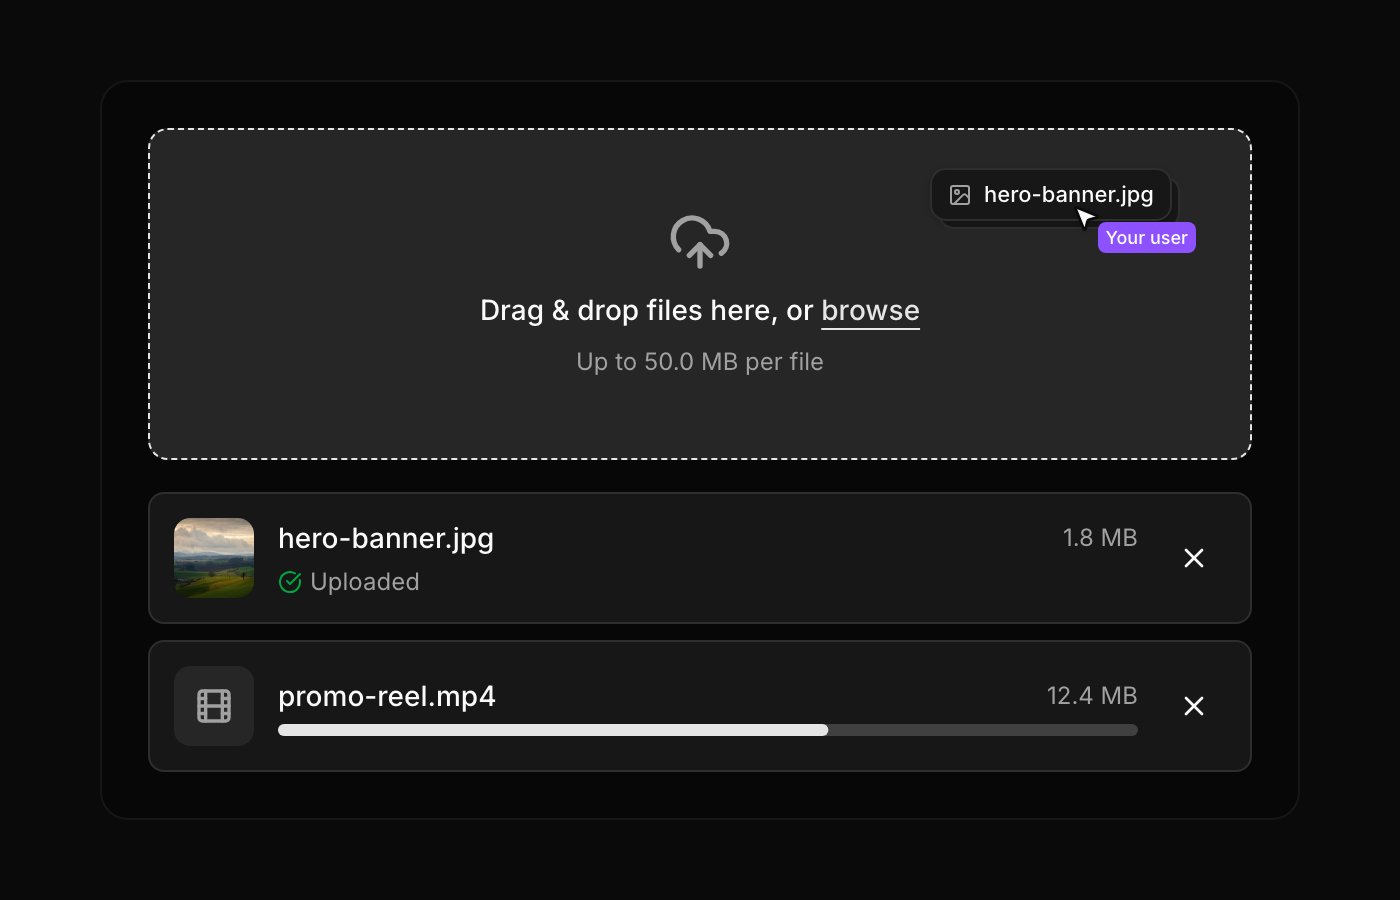
The component is built entirely with shadcn’s design tokens (border, muted, primary, destructive, ring…), so it automatically matches your theme and dark mode. Because the source is copied into your project, you own it, edit components/openinary/file-uploader.tsx freely. Use className for one-off overrides.
Server response
onSuccess receives the files as the API stored them.
HEIC and HEIF files are converted to JPEG server-side, so the returned
path may end in .jpg.
Troubleshooting
CORS error in the browser console
CORS error in the browser console
Add your app’s origin to
CORS_ORIGIN on the Openinary instance (comma-separated for multiple origins) and restart the API. The origin must match exactly, including scheme and port.401 'Presigned upload URL has expired'
401 'Presigned upload URL has expired'
The signature’s
expires timestamp passed before the upload started. Increase expiresIn slightly (keep it under the 3600s server cap) and check for clock skew between your server and the API.401 'Authentication required' on POST /upload
401 'Authentication required' on POST /upload
The signature didn’t verify, usually because the
folder used to sign it doesn’t exactly match the folder submitted with the upload, the signature was tampered with, or the API_SECRET used by the Openinary instance changed since the signature was minted. The component always uses the folder returned by sign(), so this typically means your signing endpoint and the Openinary instance disagree, or the request was hand-crafted outside the component.401/403 calling POST /upload/sign itself
401/403 calling POST /upload/sign itself
That endpoint requires a real Openinary API key or session, check
OPENINARY_API_KEY on your backend, not the browser. It should never be called directly from client code.signUpload throws 'Failed to sign upload (HTTP 404)', or the response is a redirect to /login
signUpload throws 'Failed to sign upload (HTTP 404)', or the response is a redirect to /login
NEXT_PUBLIC_OPENINARY_URL is pointing at a full-stack instance’s bare domain. In full stack mode the API only lives under /api (nginx routes everything else to the web dashboard), so append /api to the URL, see the note in Set your environment variables. API-only deployments don’t need the suffix.File rejected before upload
File rejected before upload
Client-side validation mirrors the server. Check the file type is in
accept and the size is within maxSize (and the server’s MAX_FILE_SIZE_MB).